The Shack
I have to say a Big thanks to Unreal Engine for Choosing my Scene for their Game Jam Promo: https://twitter.com/UnrealEngine/status/992867978239709185
I created the scene inside Unreal Engine 4 and all the screenshots are Real Time Captures.
This project was created in a 2 month period during my spare time. I used the 1st month to create the hard surface hero prop from start to finish and the 2nd month to create the rest of the scene.
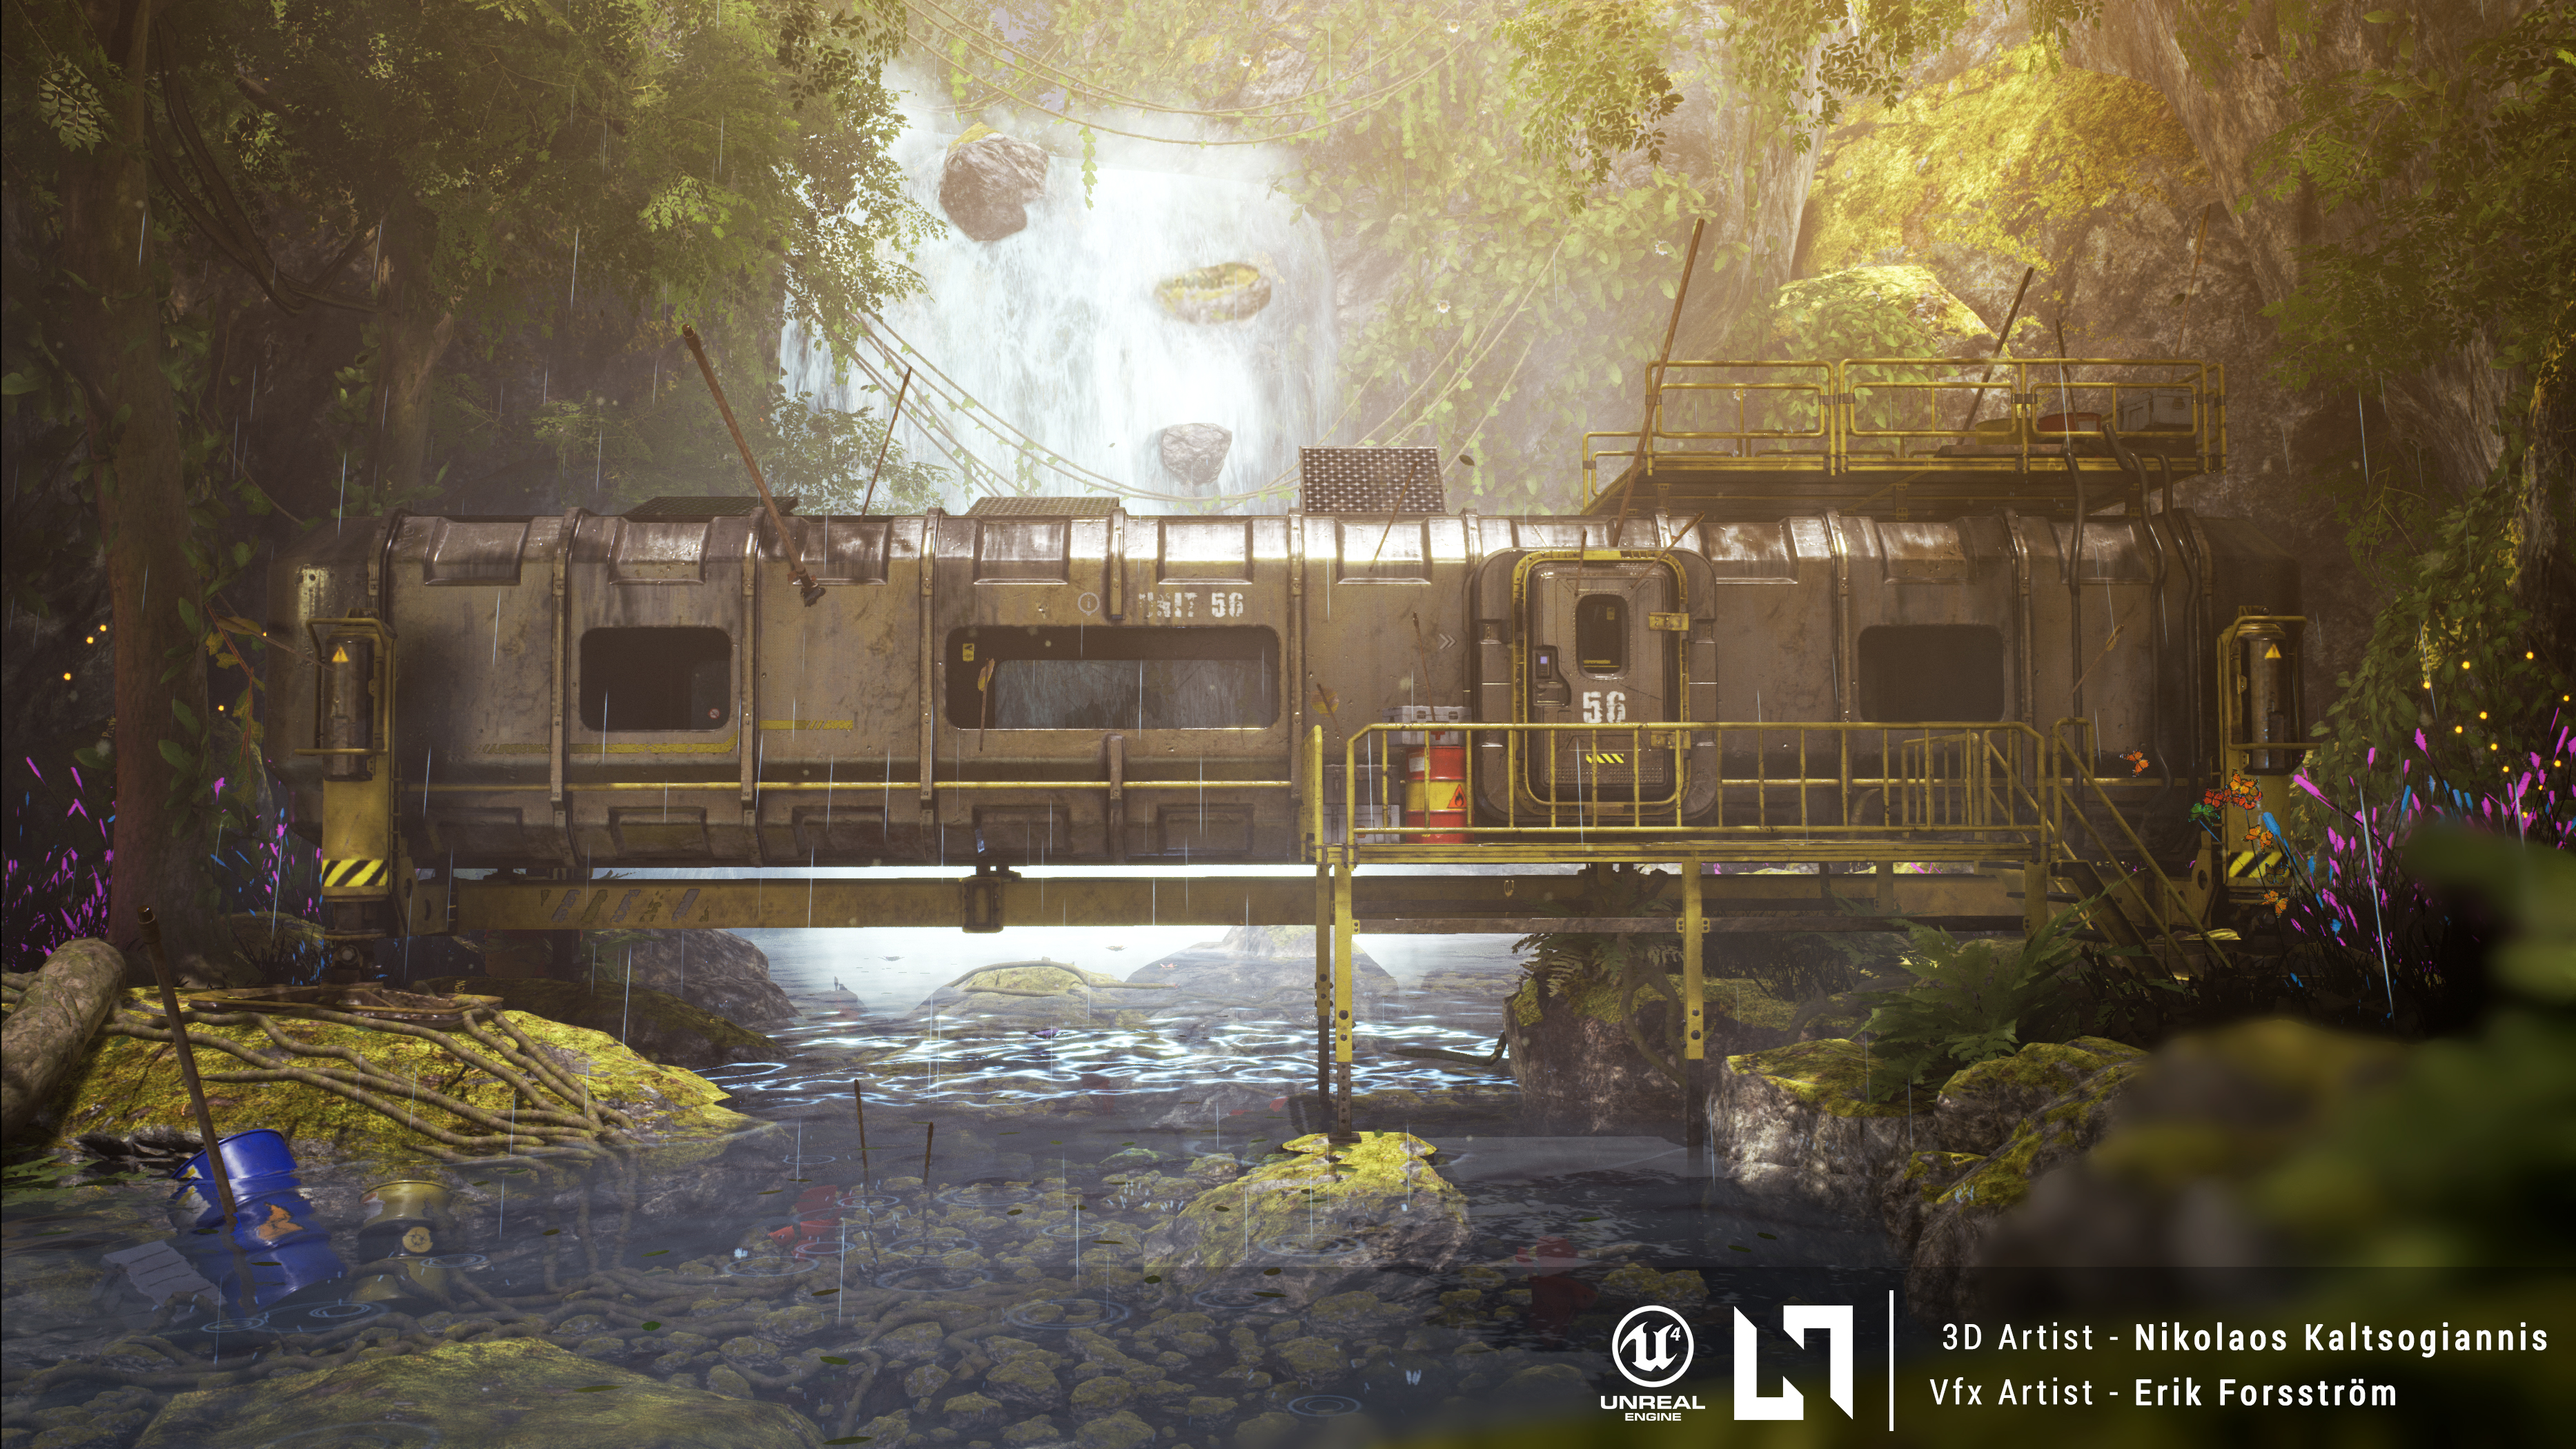
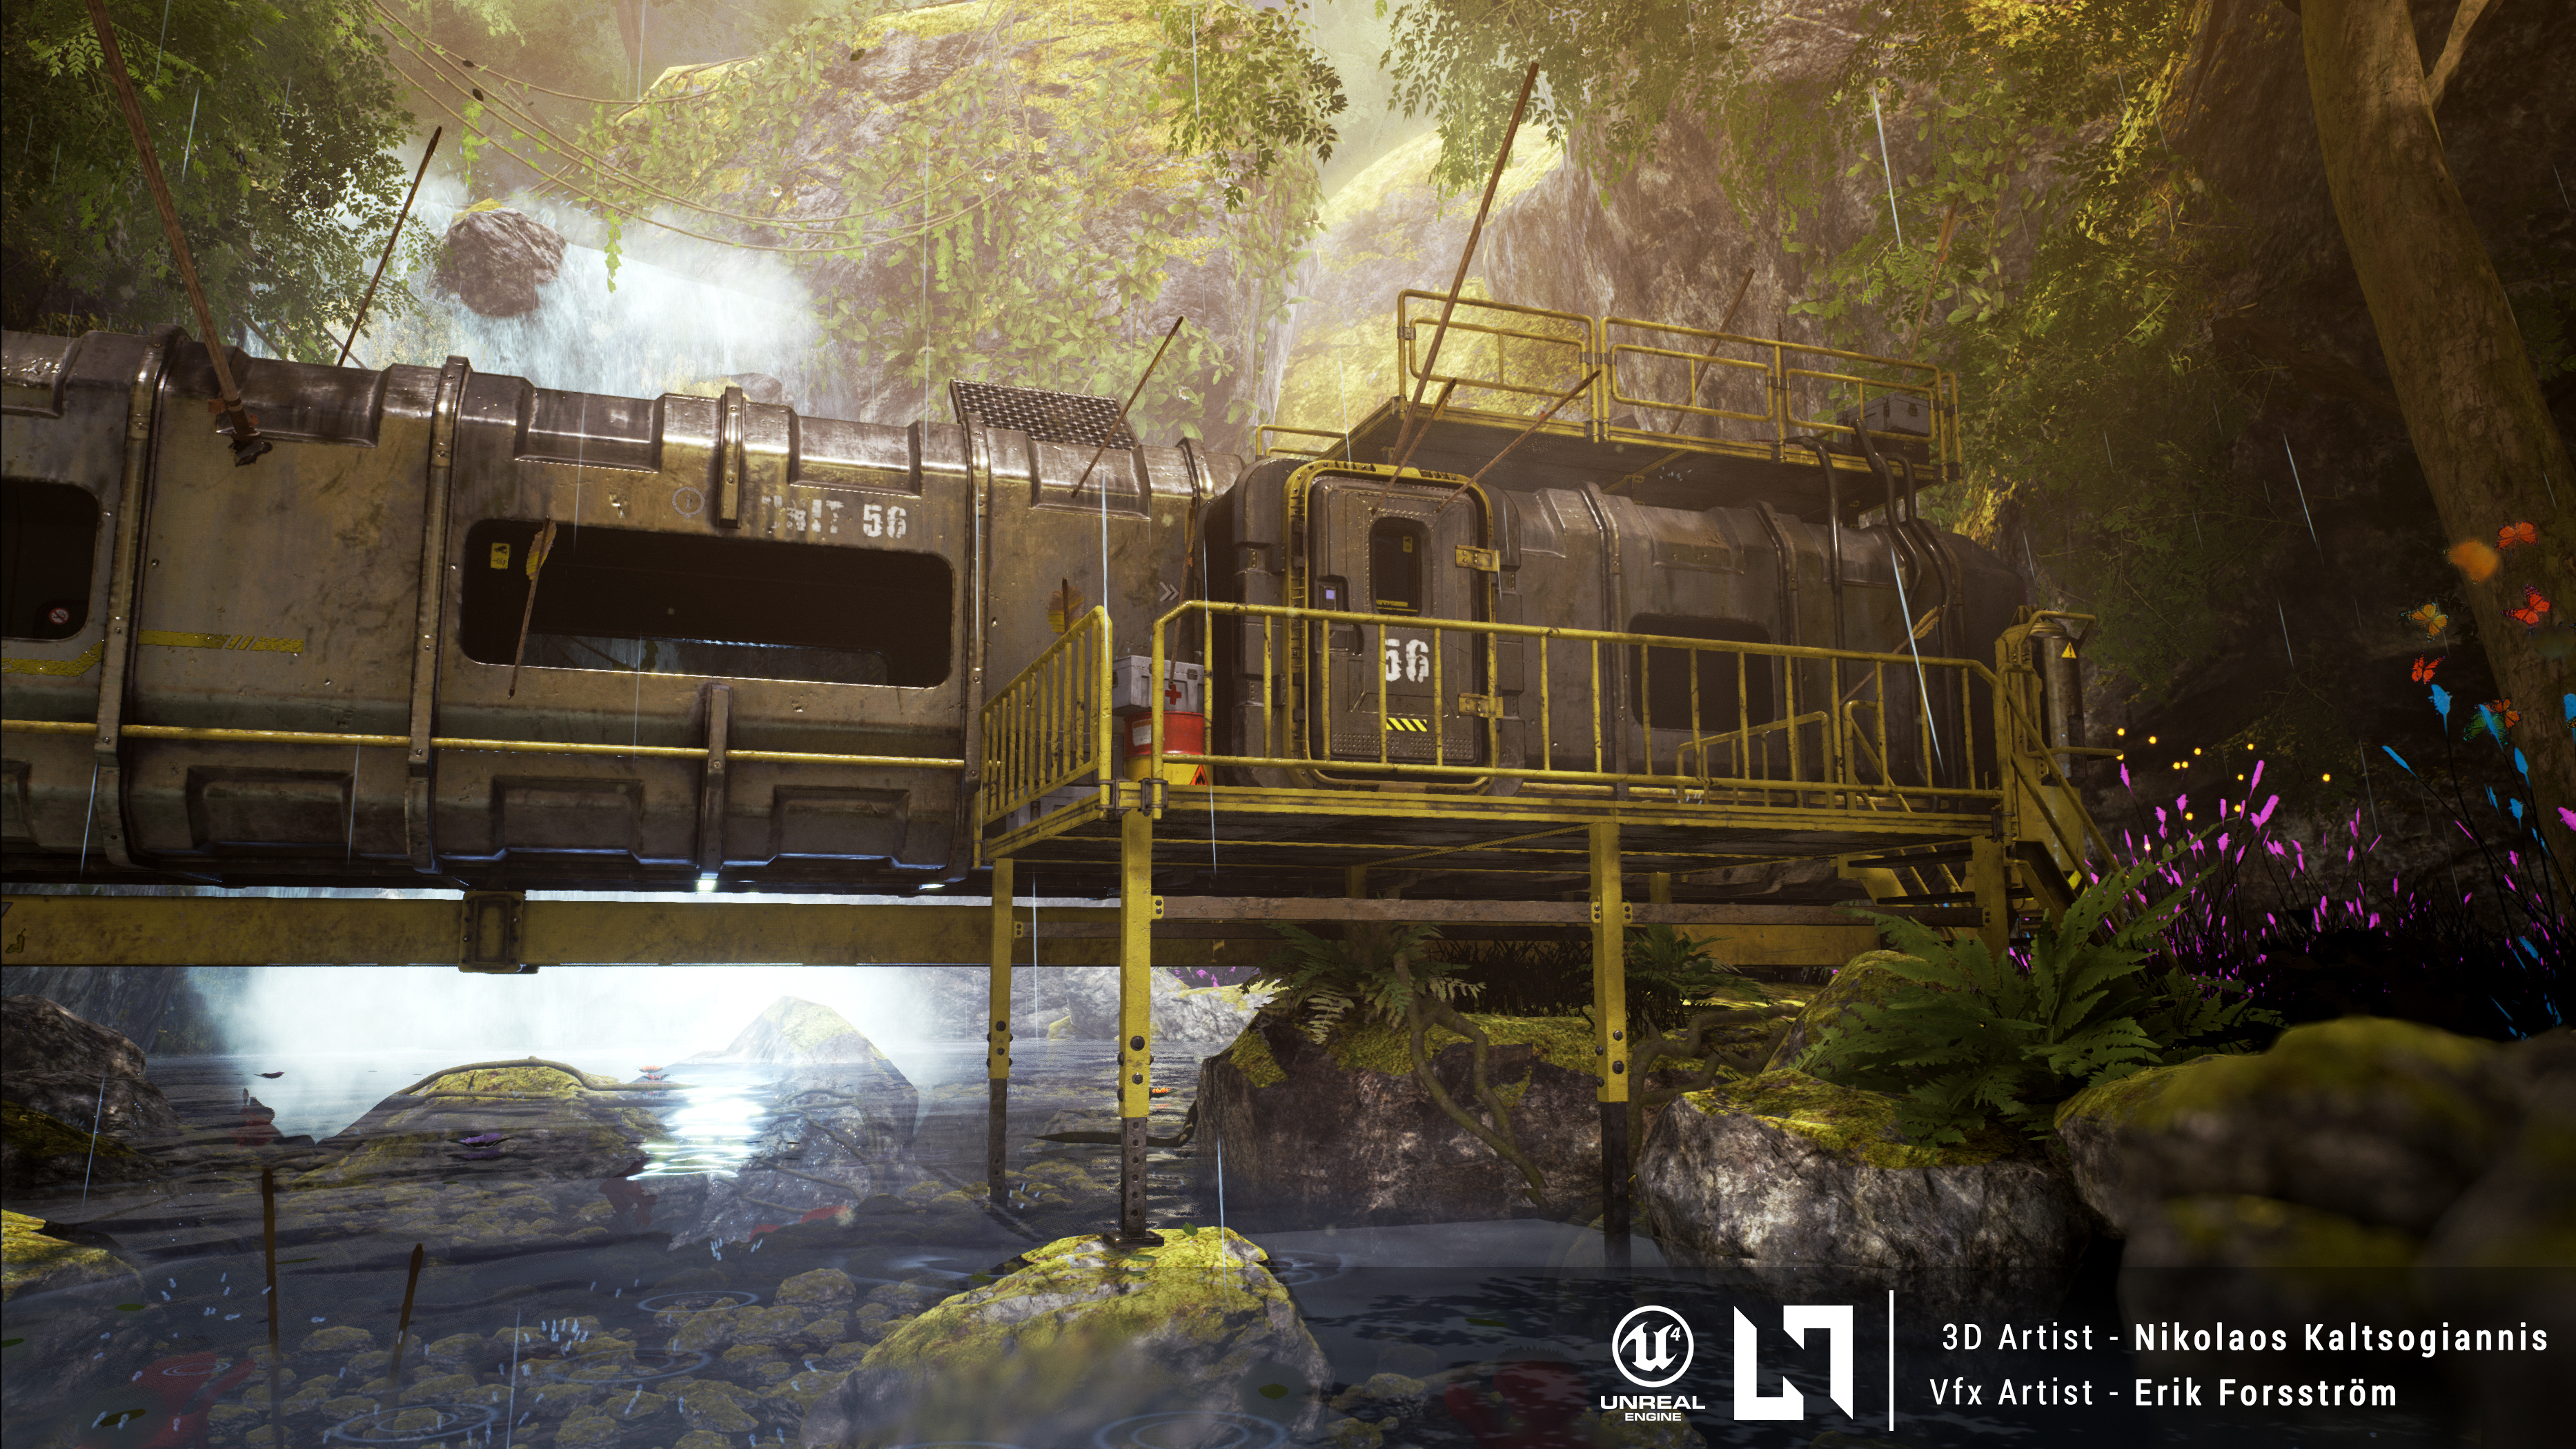
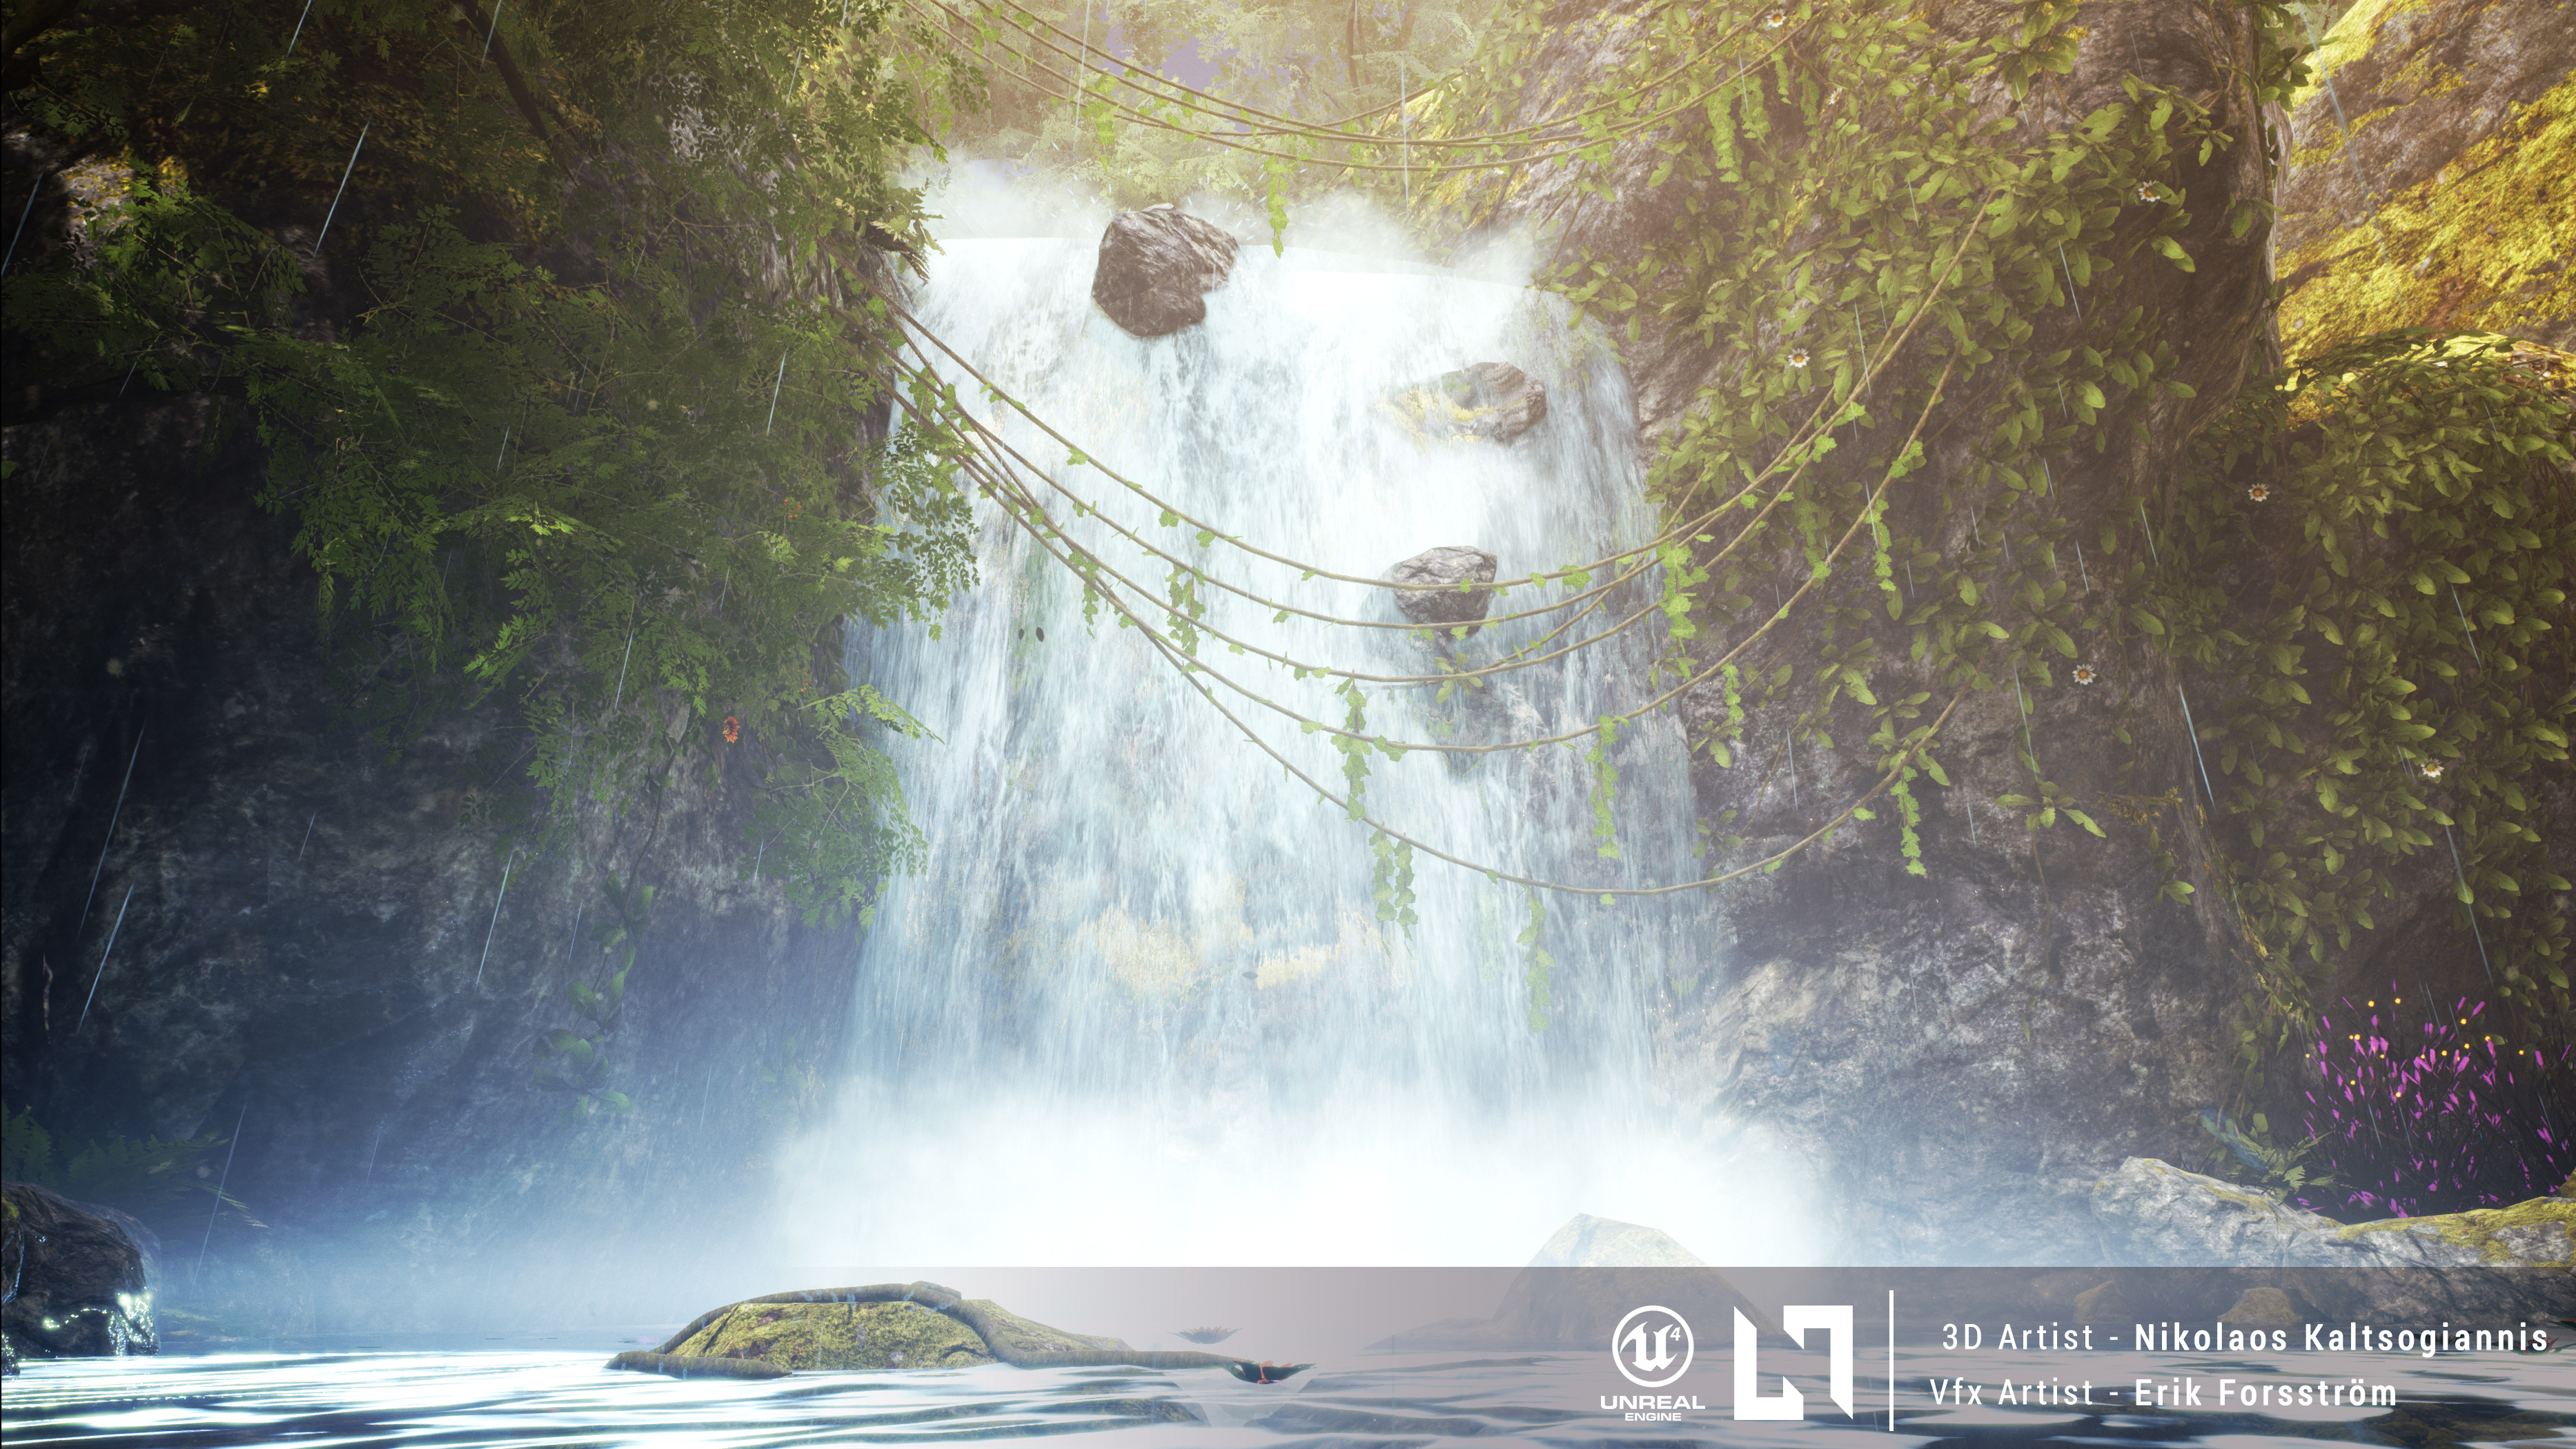
The Shack is a fan art project inspired by the Avatar movie.
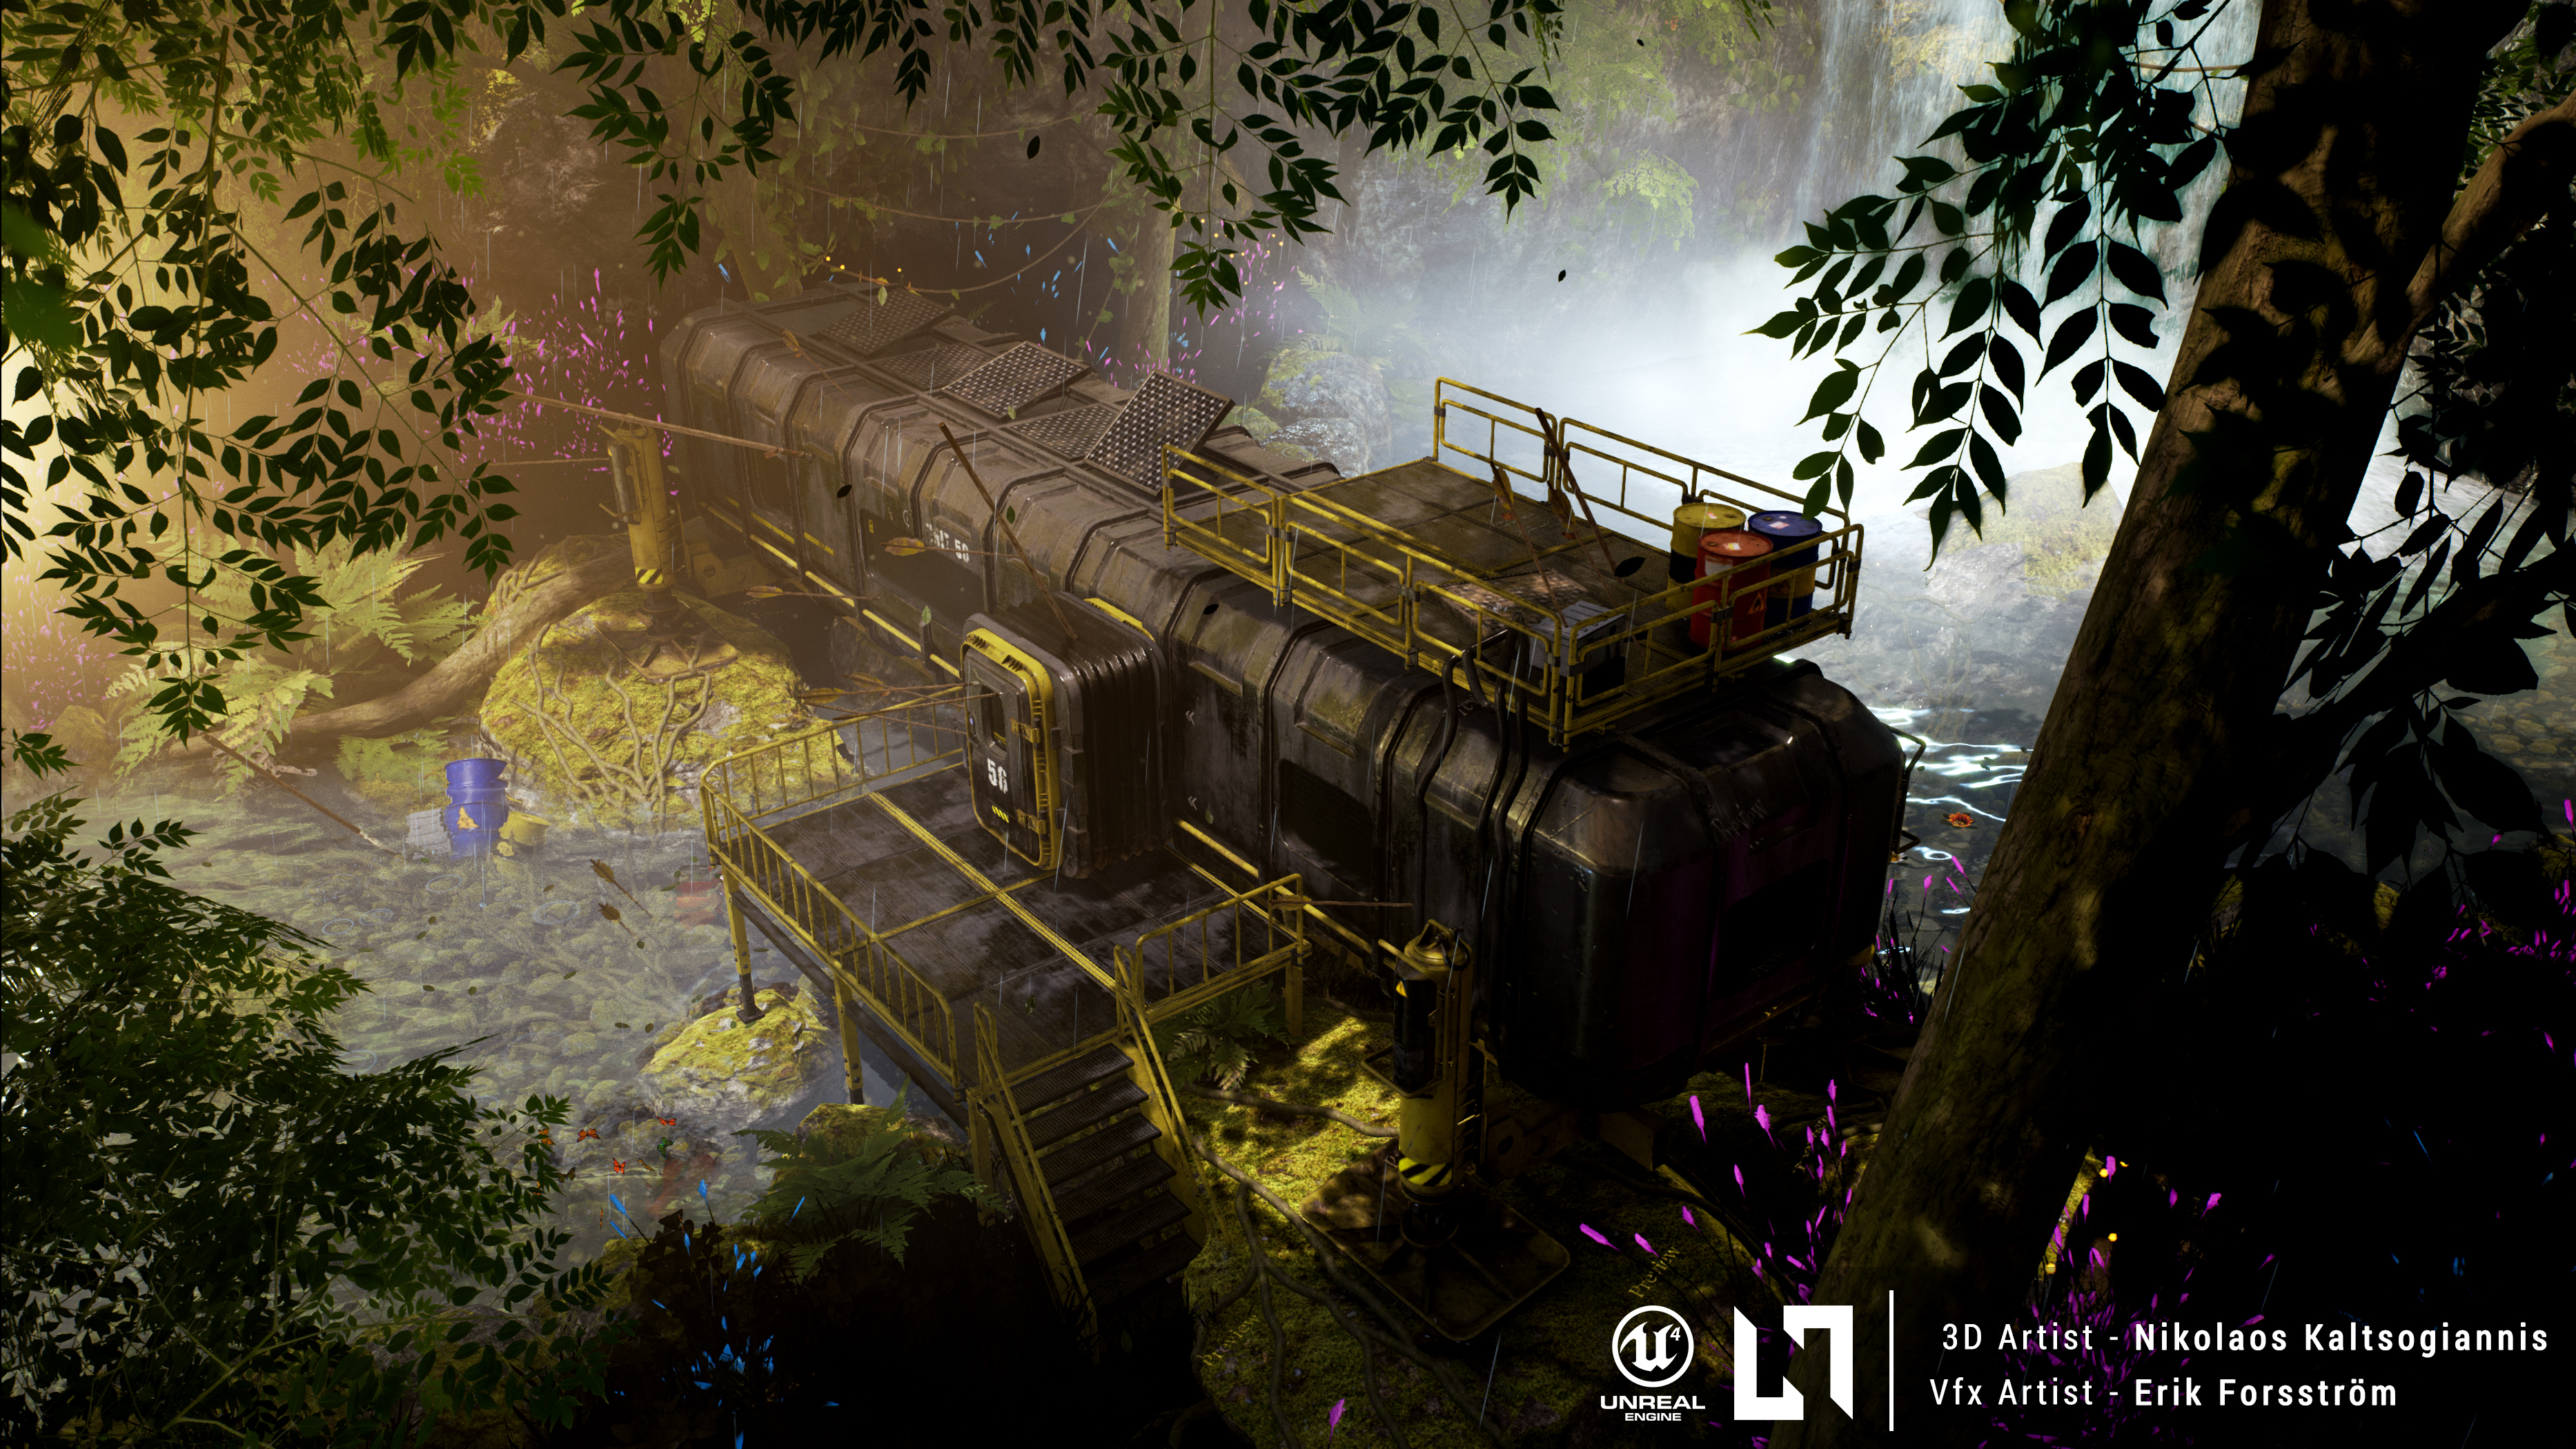
I made all the 3D assets and tried to have a coherent art style, focusing on realism. I was also very focused on the lighting and the overall composition of this diorama.
One of my objectives for this scene was to have a more technical approach in every aspect of the scene. Modularity, asset variations, lighting and materials/shaders were also some of the attributes I wanted to learn more about and have them in my scene.
About The Scene
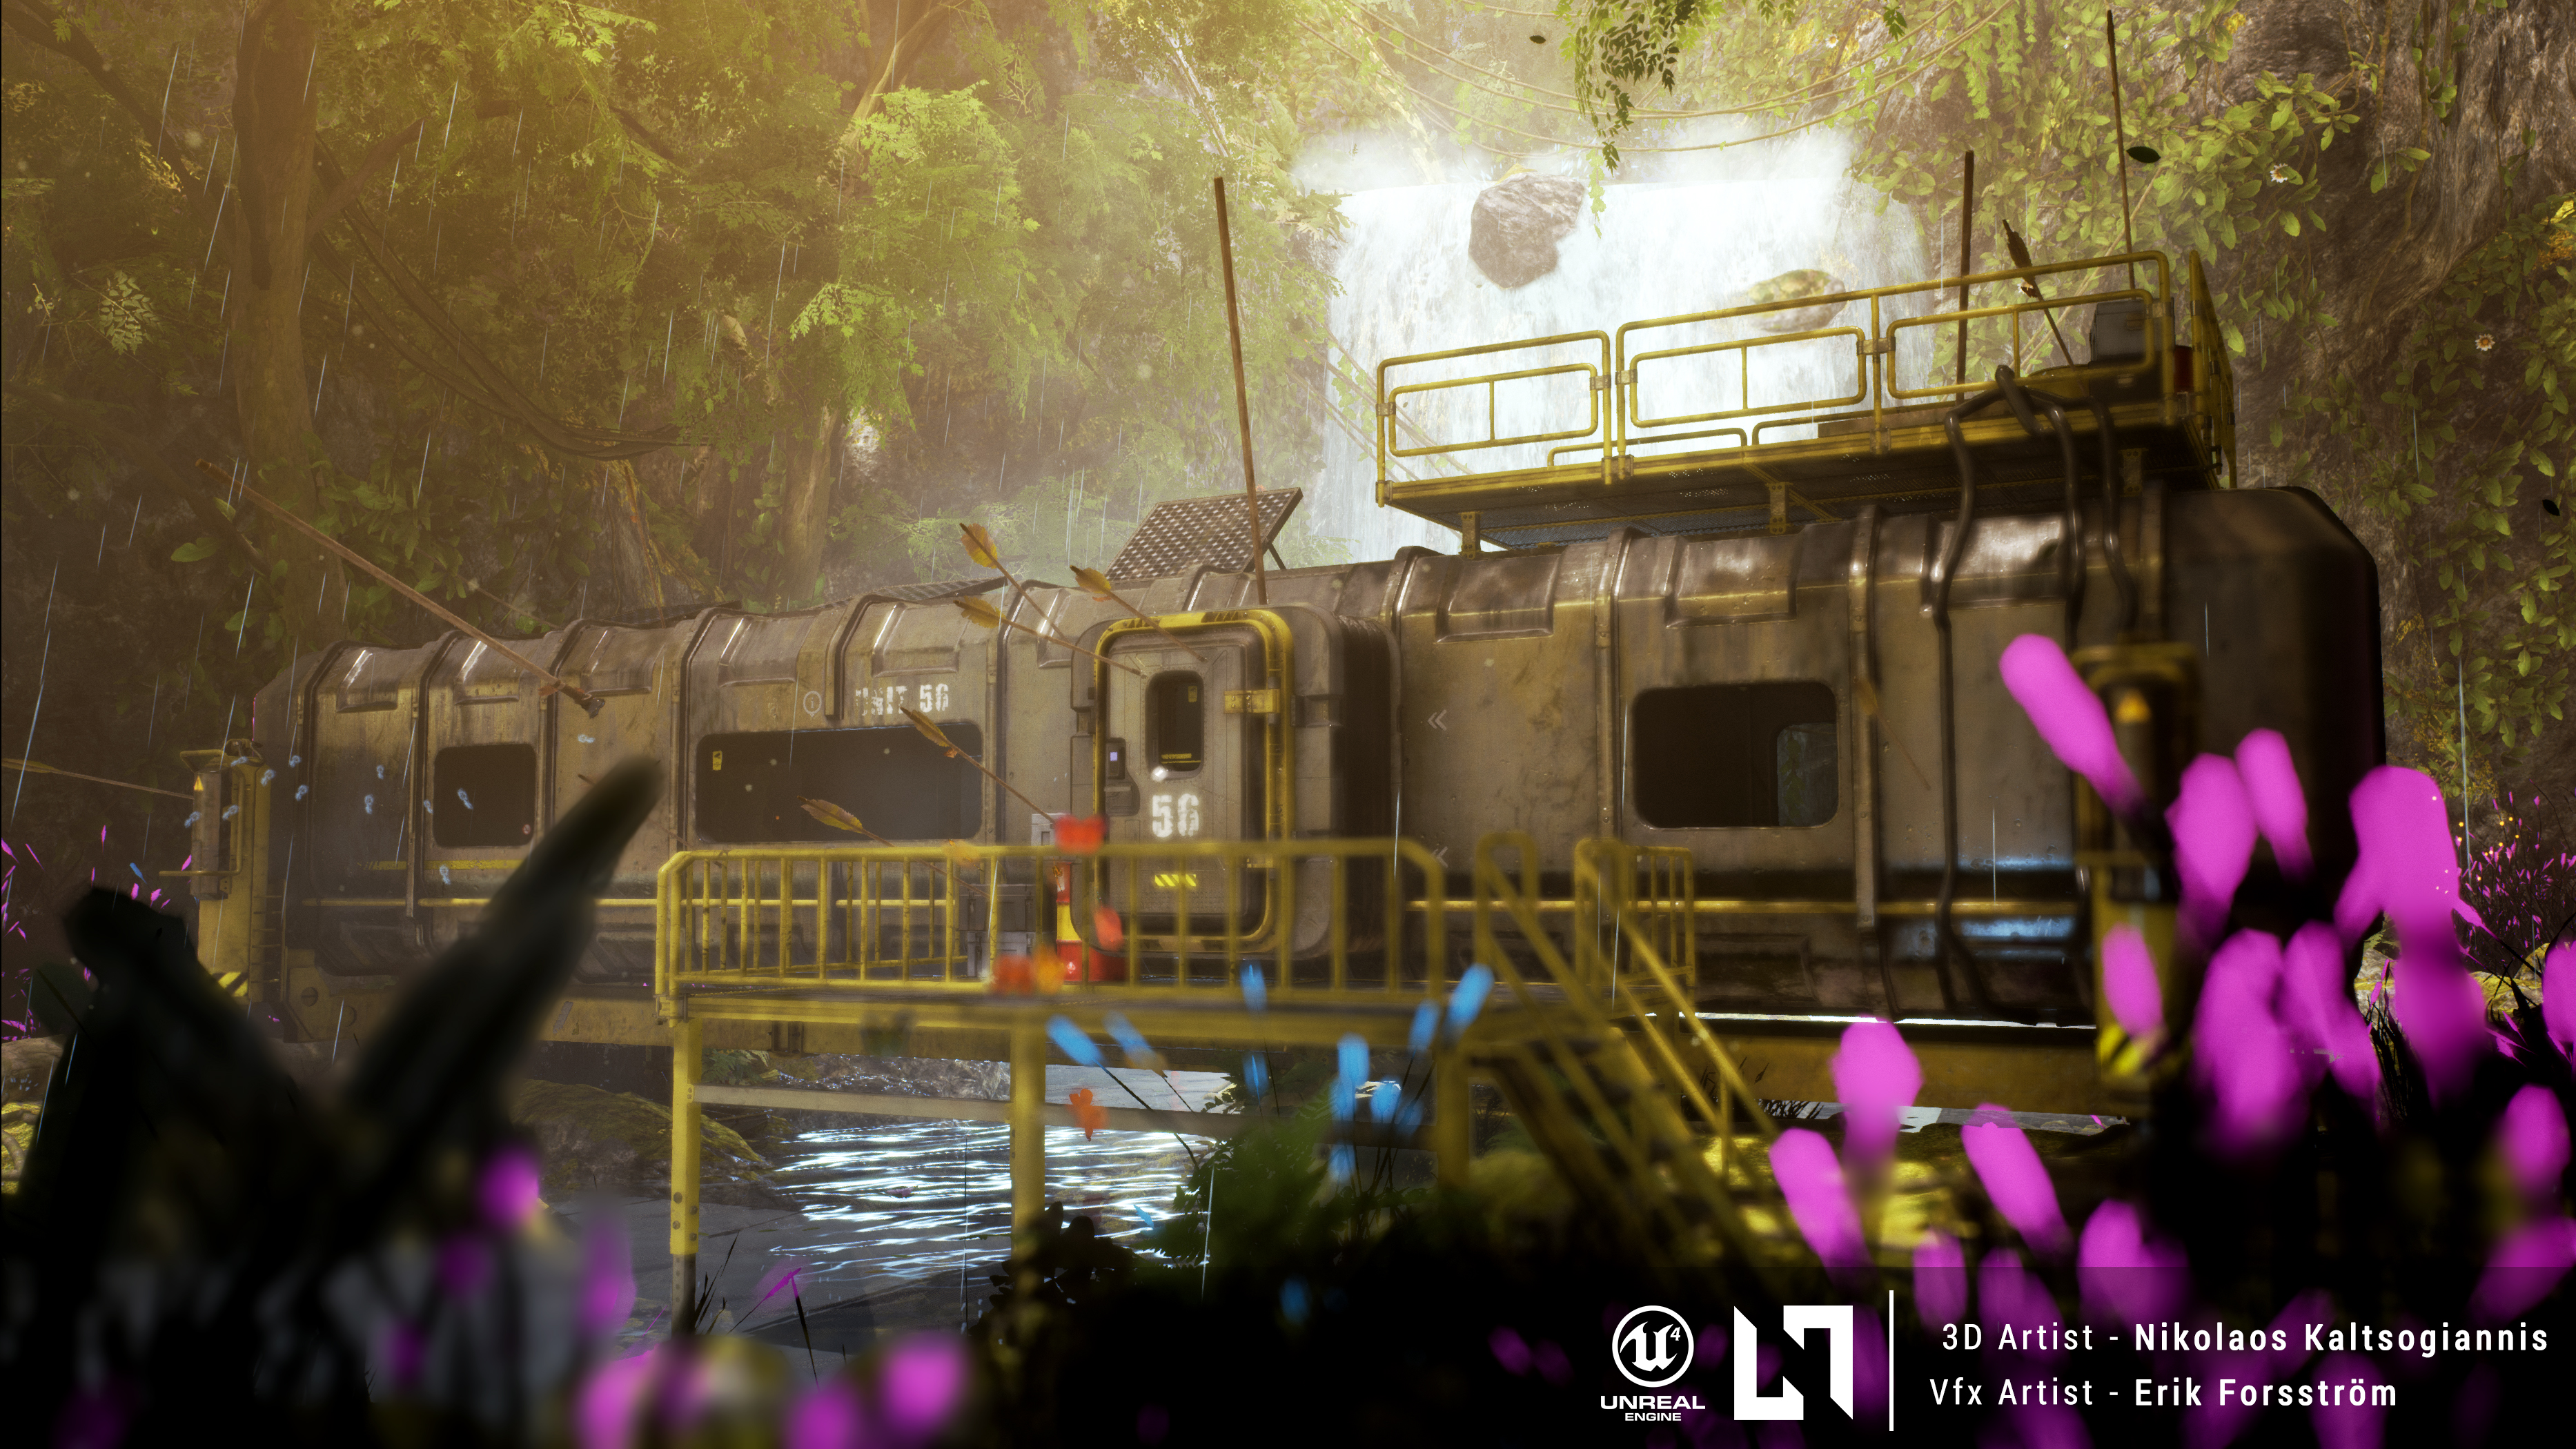
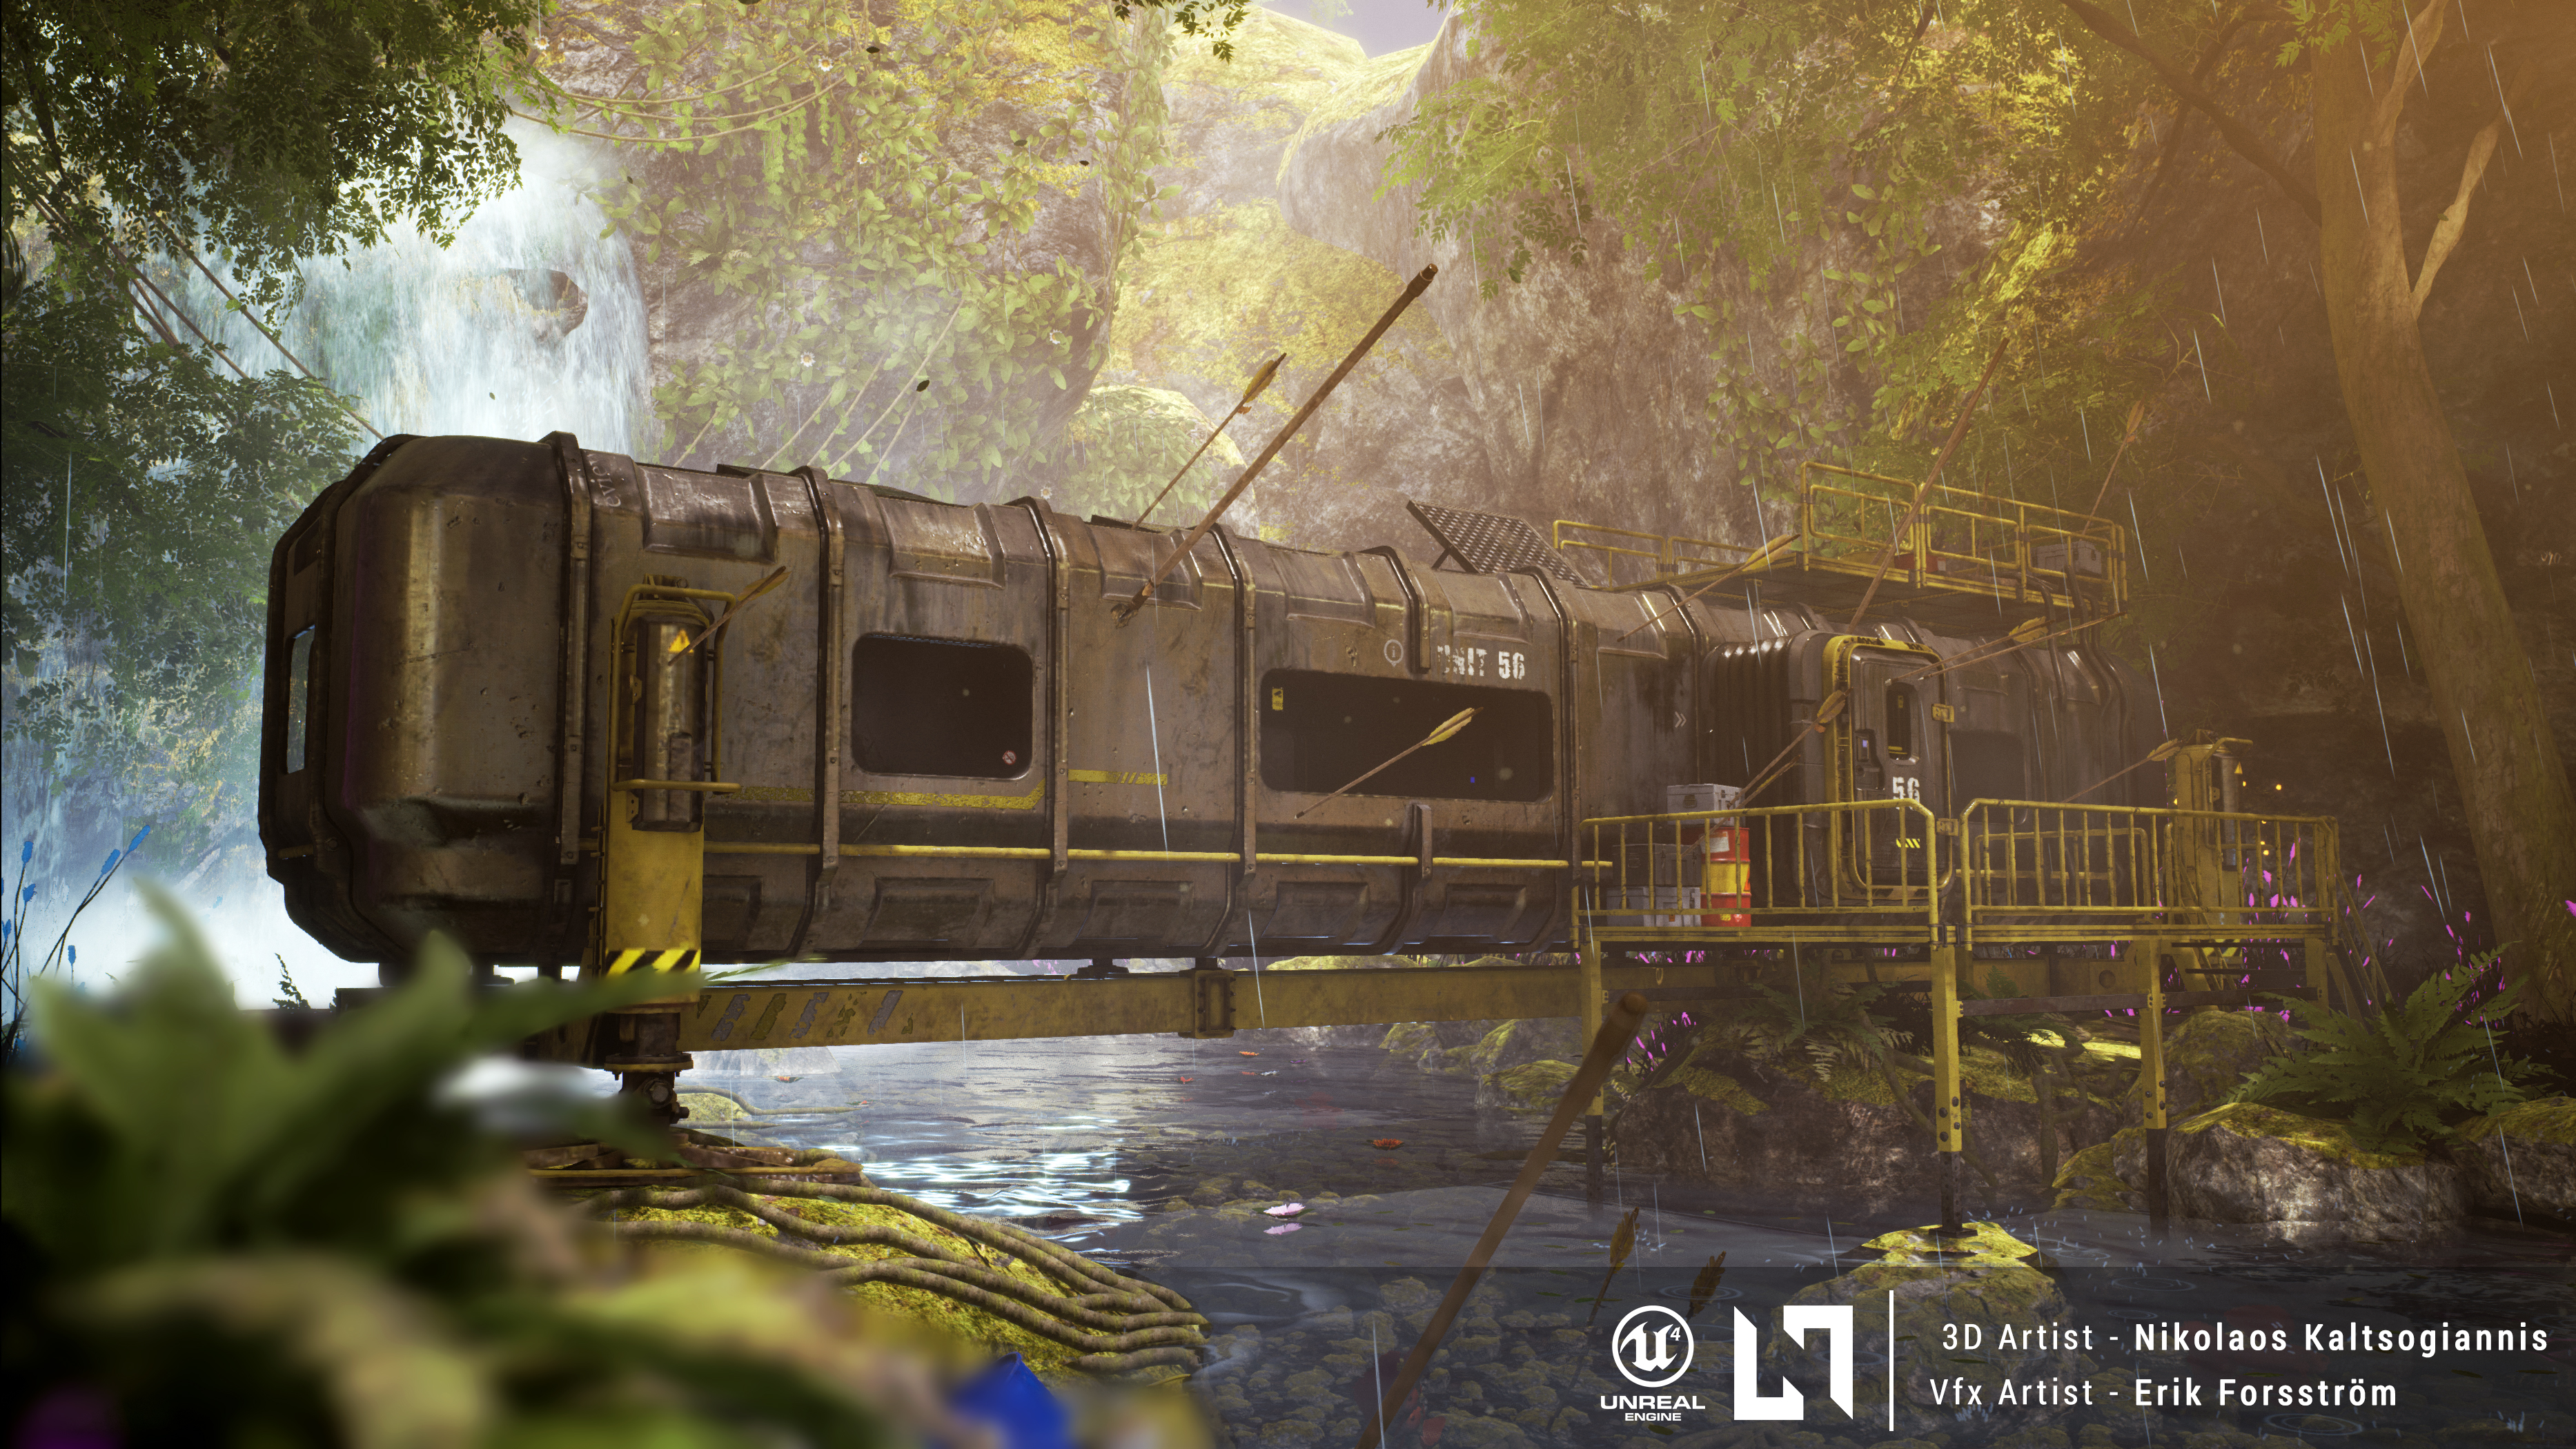
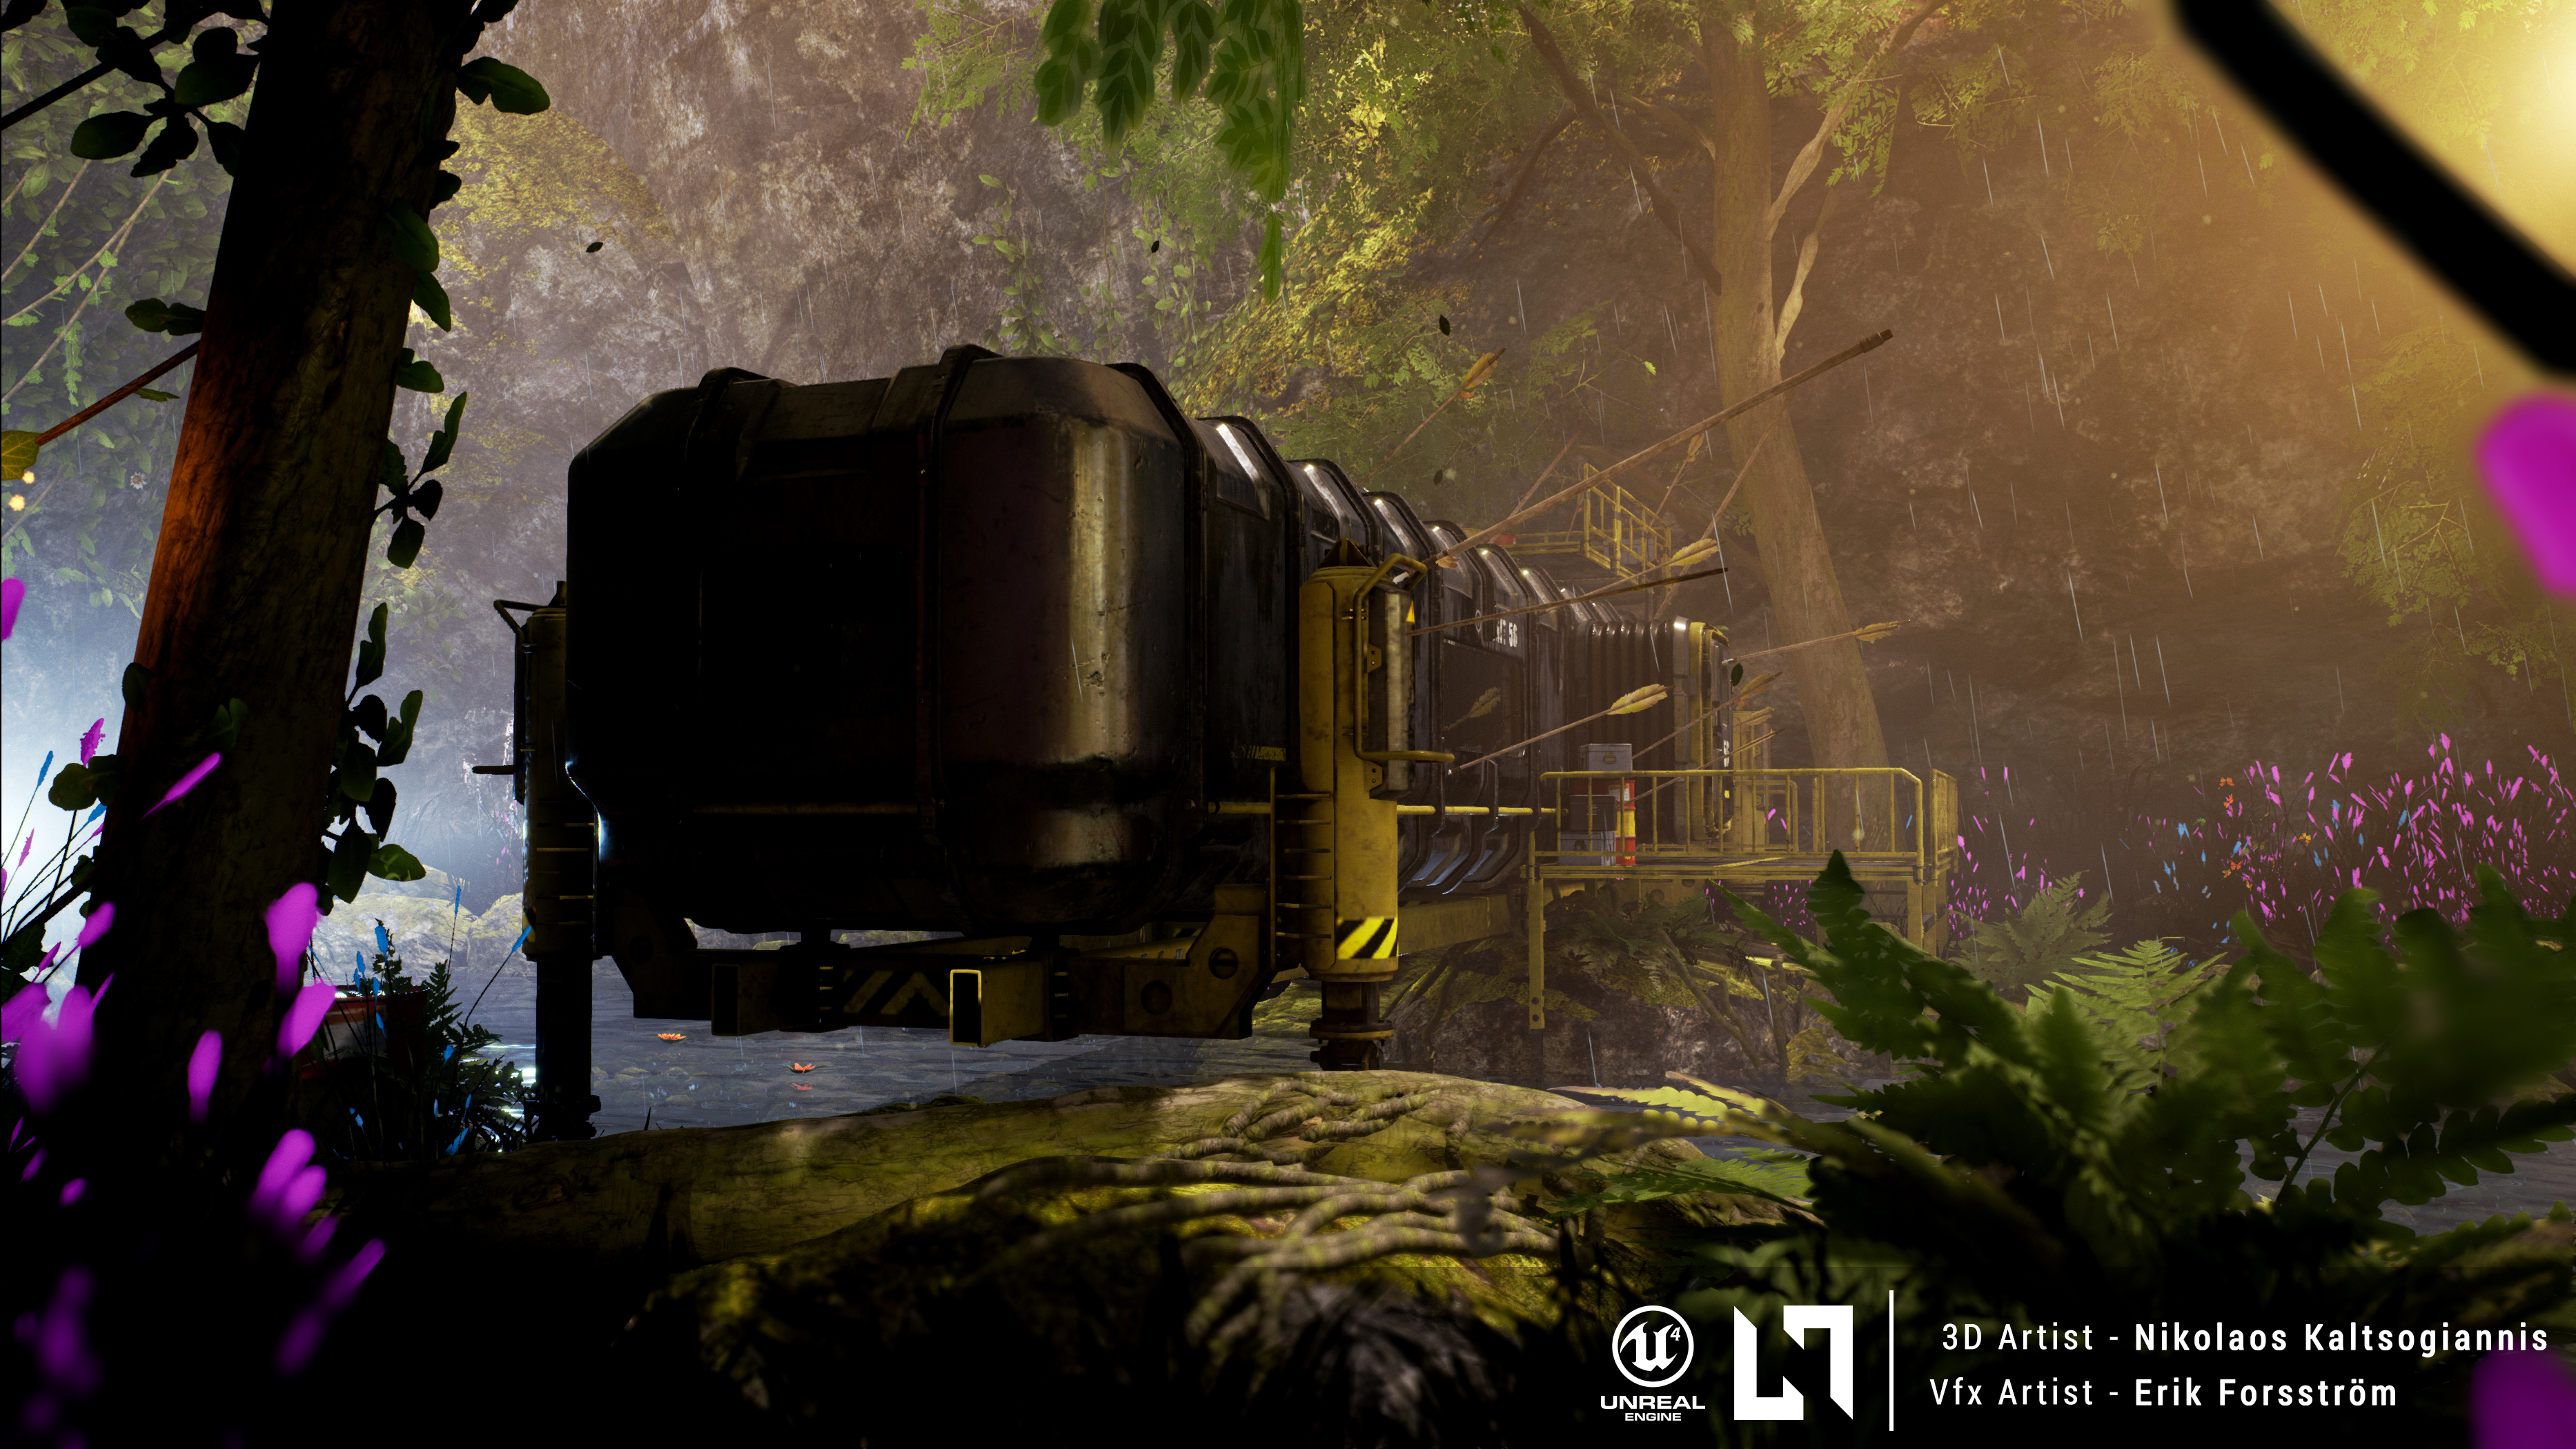
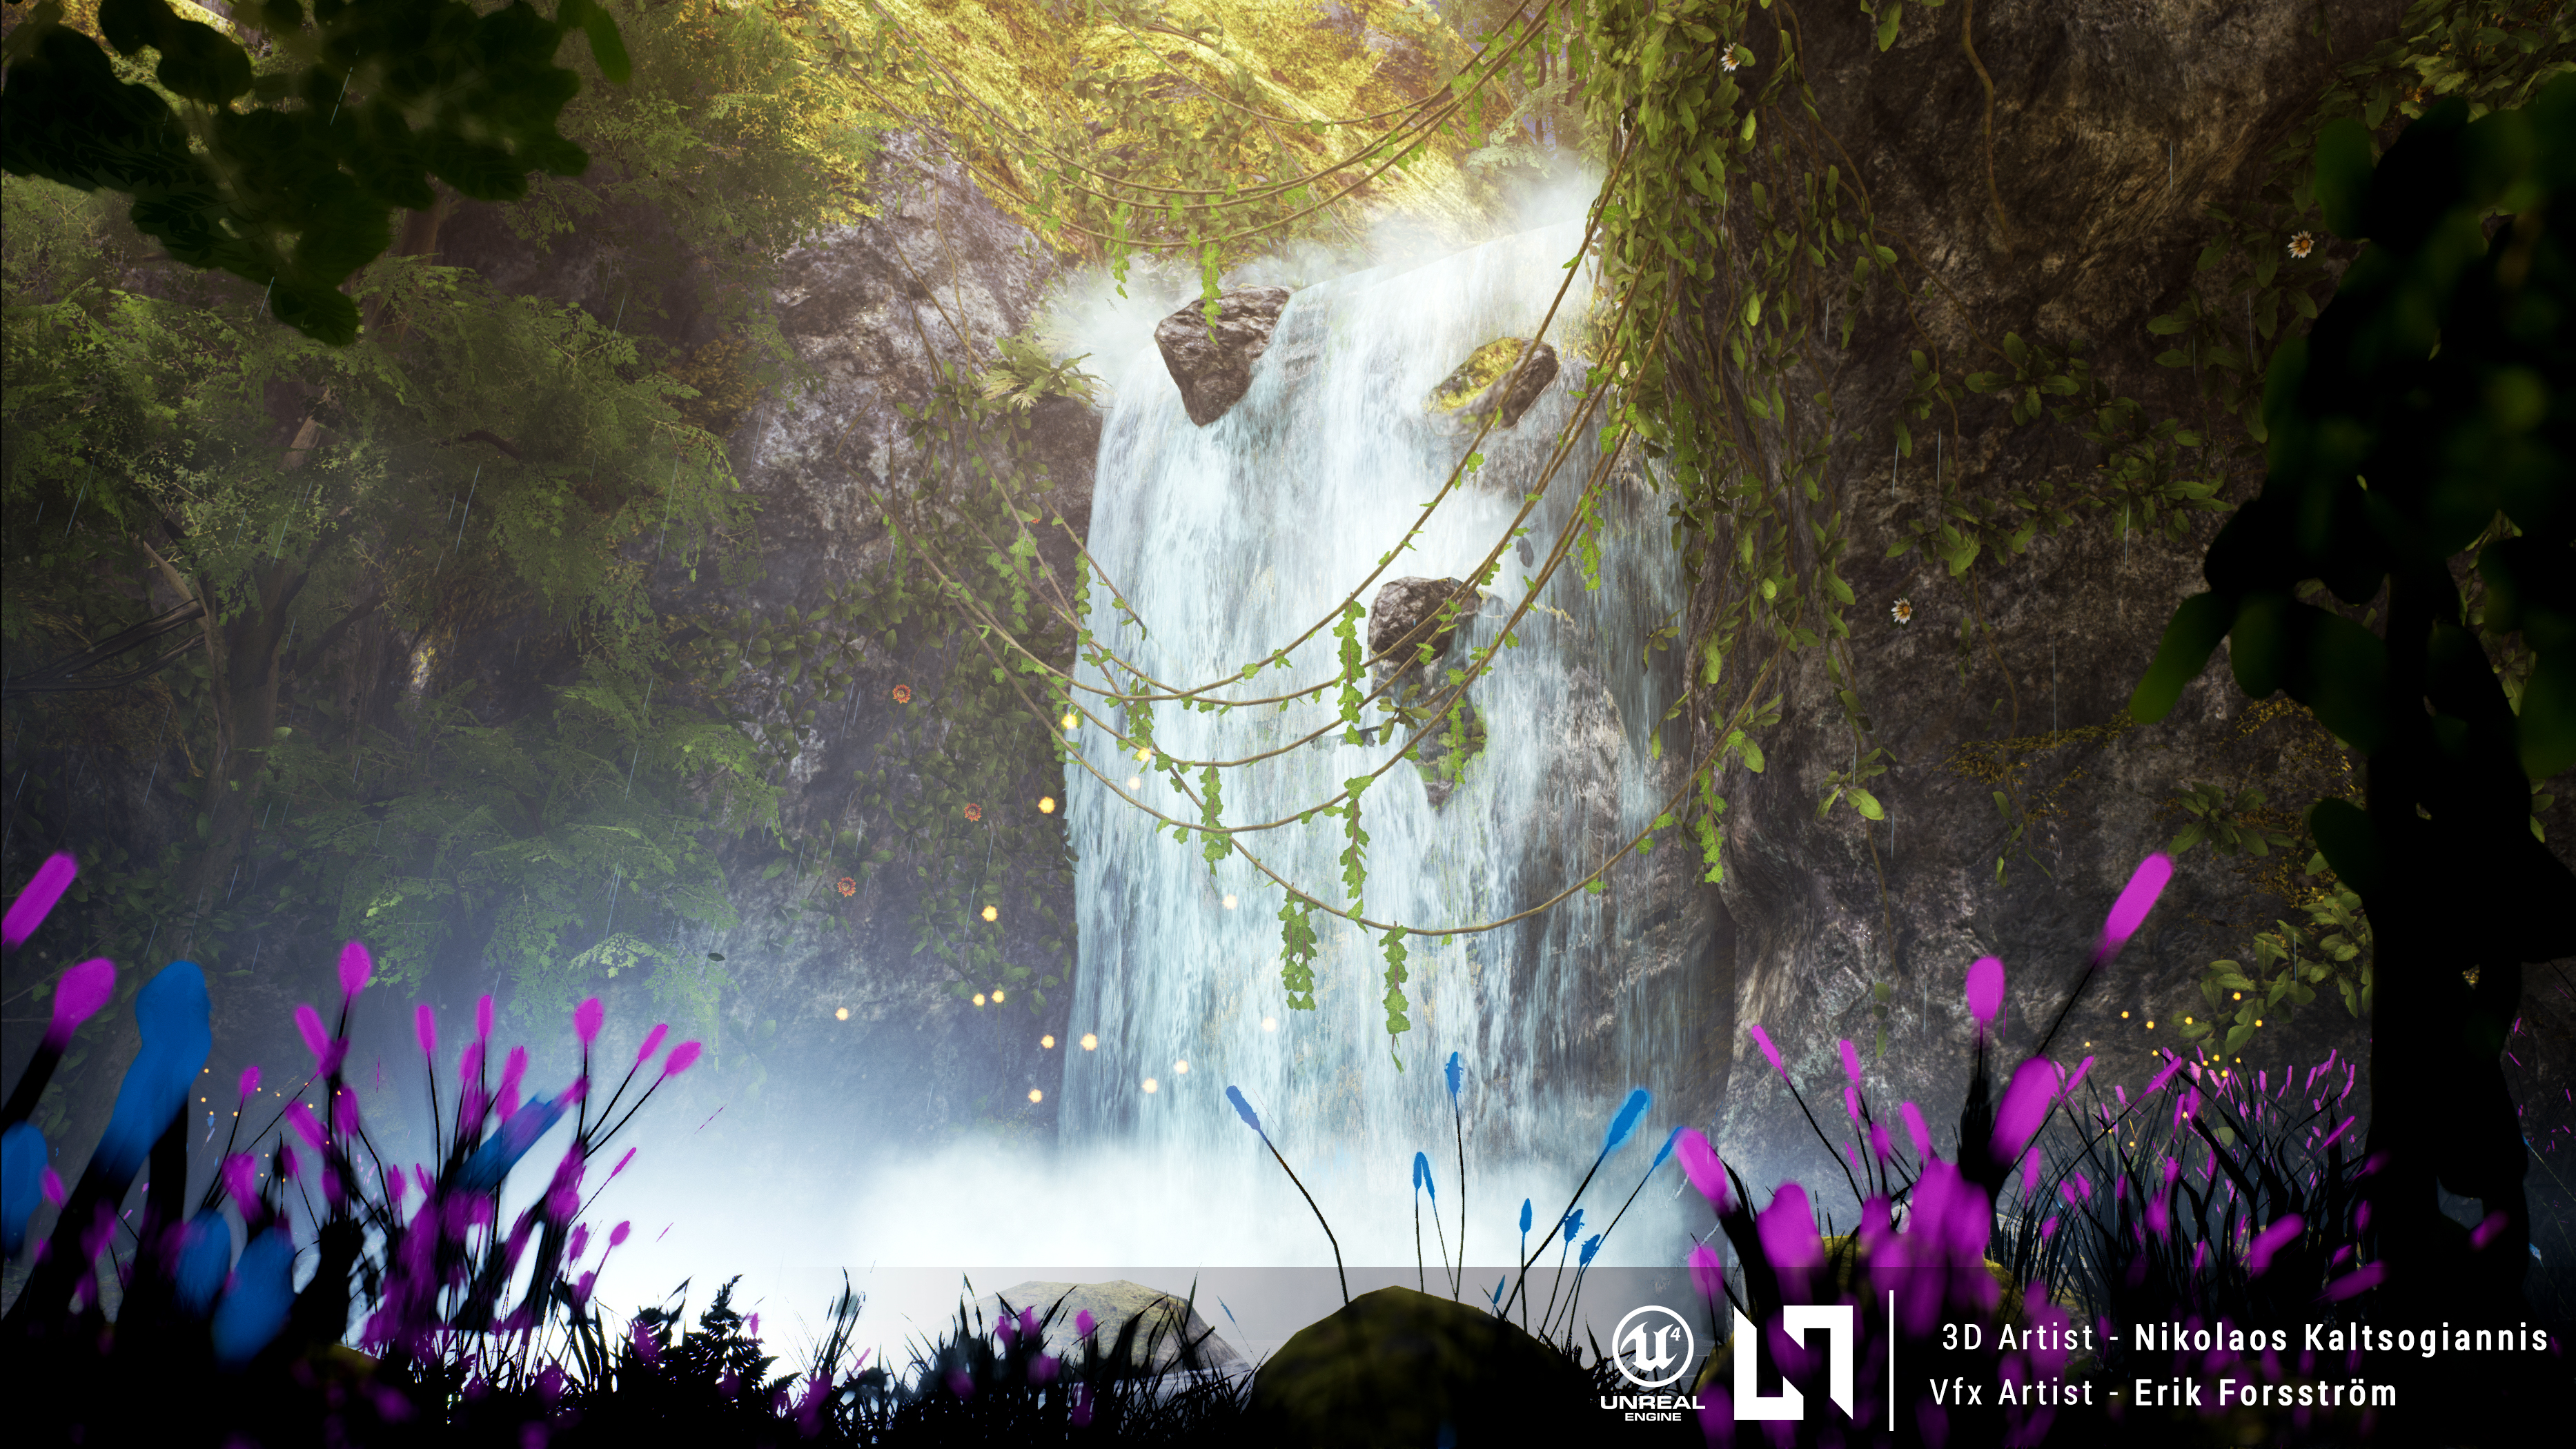
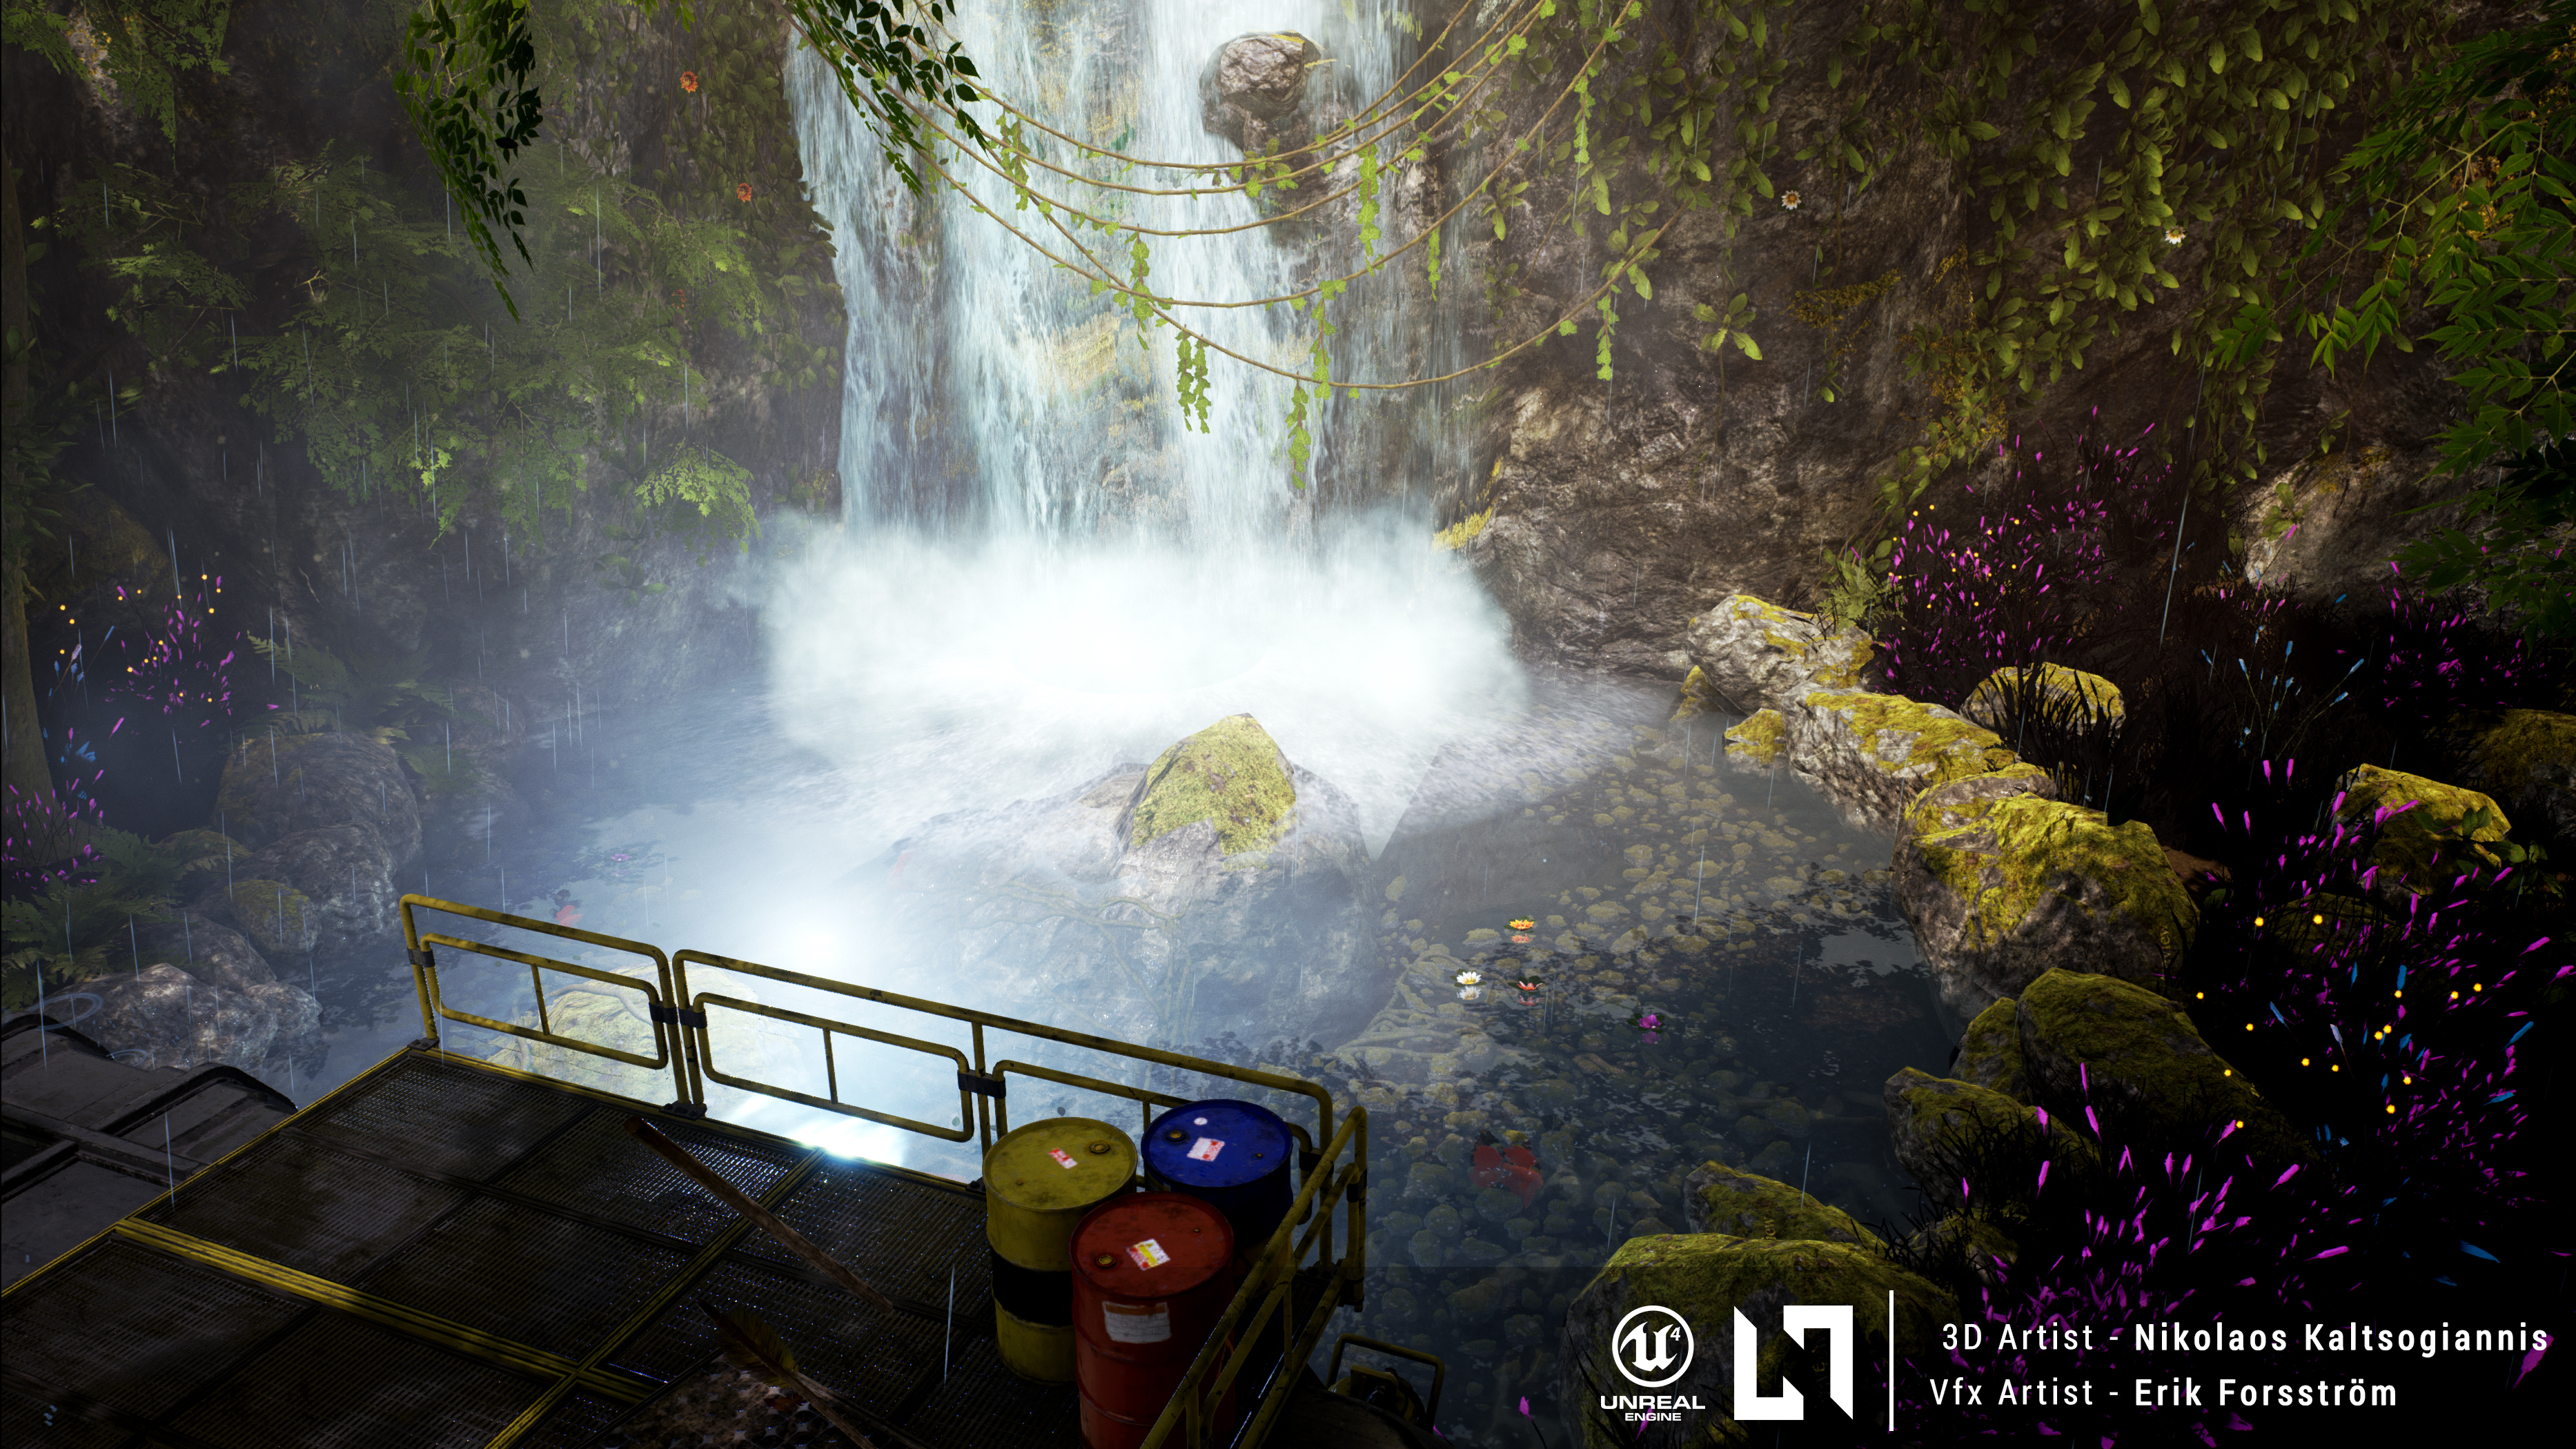
I wanted to create a peaceful and relaxing environment where people can enjoy the wilderness and get calm by the sounds of the jungle and the waterfall. I also wanted to introduce the elements of danger, that people could be attacked at any moment. This is the reason I introduced the arrows and the spears in my scene.
Hard Surface
For the hard surface, I used mostly Maya and in some cases ZBrush to create the high poly and Maya for the low poly and the uvs. I used Marmoset for baking. I made the main structure as modular as it could be in order to have more flexibility when I was building the scene. I also made a lot of variations for all the assets in my scene. I haven't used them all but I wanted to have the options if I needed them
Materials and Shaders
For the materials, I created 4 master materials with a lot of parameters for more control and speed. I made one landscape material with 6 material layers ( functions ) for variation, one master material for all the props, one master material for the vegetation and one master material for the organic environment pieces (rocks, cliffs, trees) with a moss material layer in order to have it grow on.
Rocks and Cliffs
For the rocks and cliffs, I used ZBrush to manually sculpt them. I didn't want to use any alphas just for practising purposes. After making the low poly and the uvs, I used Substance painter to texture them by using smaller surface noise and gradients for the colour. When the meshes were into UE4, I made a master material with a lot of parameters, detail maps and a dynamic moss material layer to have the moss grow on the top part of the rocks no matter how I would rotate them or scale them. It isn't perfect but I learned a lot creating this material.
Vegetation
For the vegetation, I tried to be as fast as possible with the best results possible. I used Speedtree to create the trees and 2 of the plants. The rest of the plants, as well as the grass, were made manually in Maya. For the textures, I used photos and Quixel suite to generate the rest of the maps (Normal, curvature and roughness maps). The same was for the bark, flowers and the vine textures. For the vines, I wanted to create my own spline tool, even if it was very simple in order to get more familiar with blueprints. For the more complex splines, I used the smart spline generator from unreal marketplace making sure to change the textures and the meshes with my own ones. It is a great tool, I can't recommend it enough.
VFX
I wanted to give more life to my scene with the help of particles. I asked my good friend Erik to help me with that. he was kind enough to make some leaf particles, rain, rain droplets, as well as the waterfall shader and the water shader for the river. I was responsible to create all Meshes and textures except the textures for the water/waterfall shader, the particles and water shader were made by Erik Forsström.
Erik's Portfolio : https://erikforsstrom.artstation.com
Progression